You’ve snapped a photo on a bright sunny day, but it comes out too dark. Or at dusk, your shot looks washed out with no detail. These issues happen because proper exposure means balancing light just right. Details in shadows and highlights pop without loss.
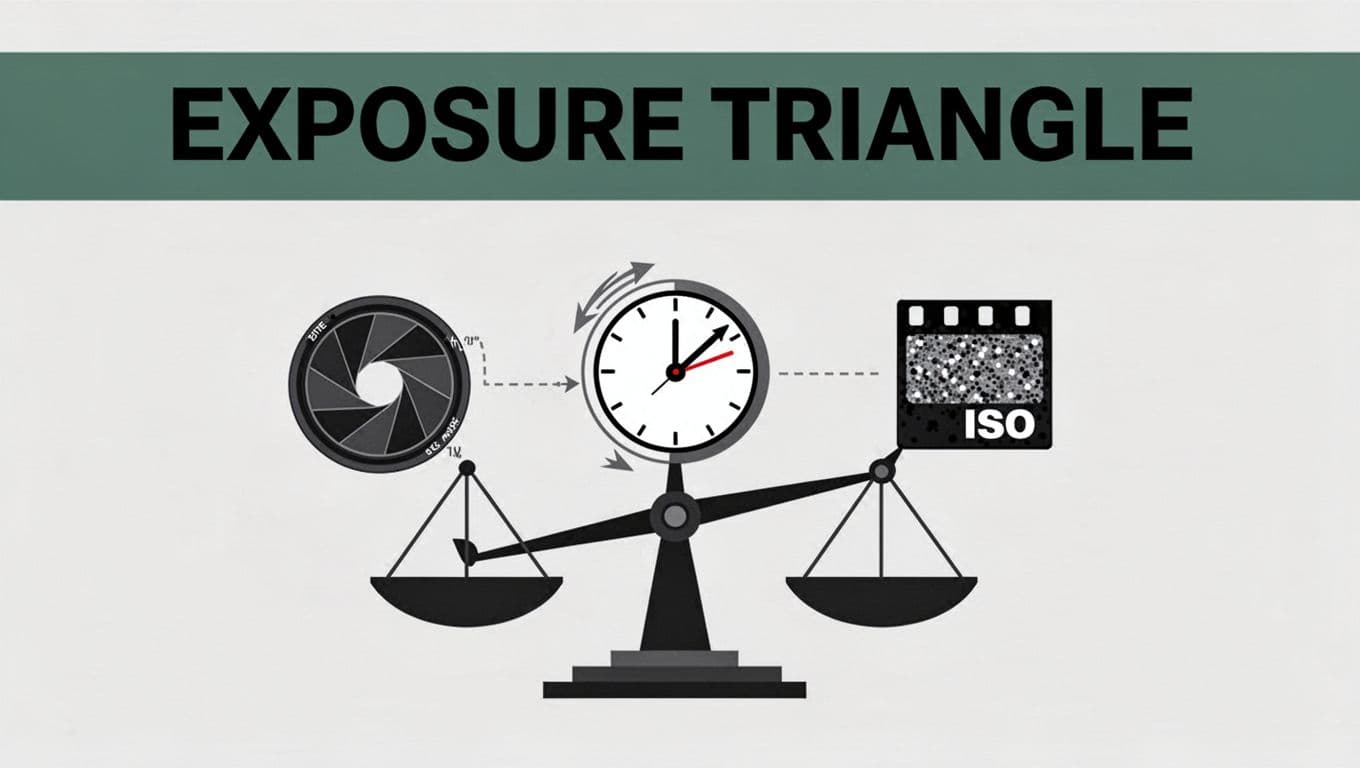
Three settings control this: aperture, shutter speed, and ISO. People call them the exposure triangle. They team up to let in the perfect amount of light. Once you grasp how they interact, you gain full control over your images. No more guessing.
This post breaks it down step by step. You’ll learn each setting’s role, how they balance, real examples, pro tips, and mistakes to dodge. Grab your camera. Follow along with test shots. You’ll shoot like a pro by the end.
Break Down the Exposure Triangle: Aperture, Shutter Speed, and ISO Explained
Cameras capture light through these three pillars. Each one affects brightness and more. Change one, and you adjust the others for balance. Start here to build a strong base.
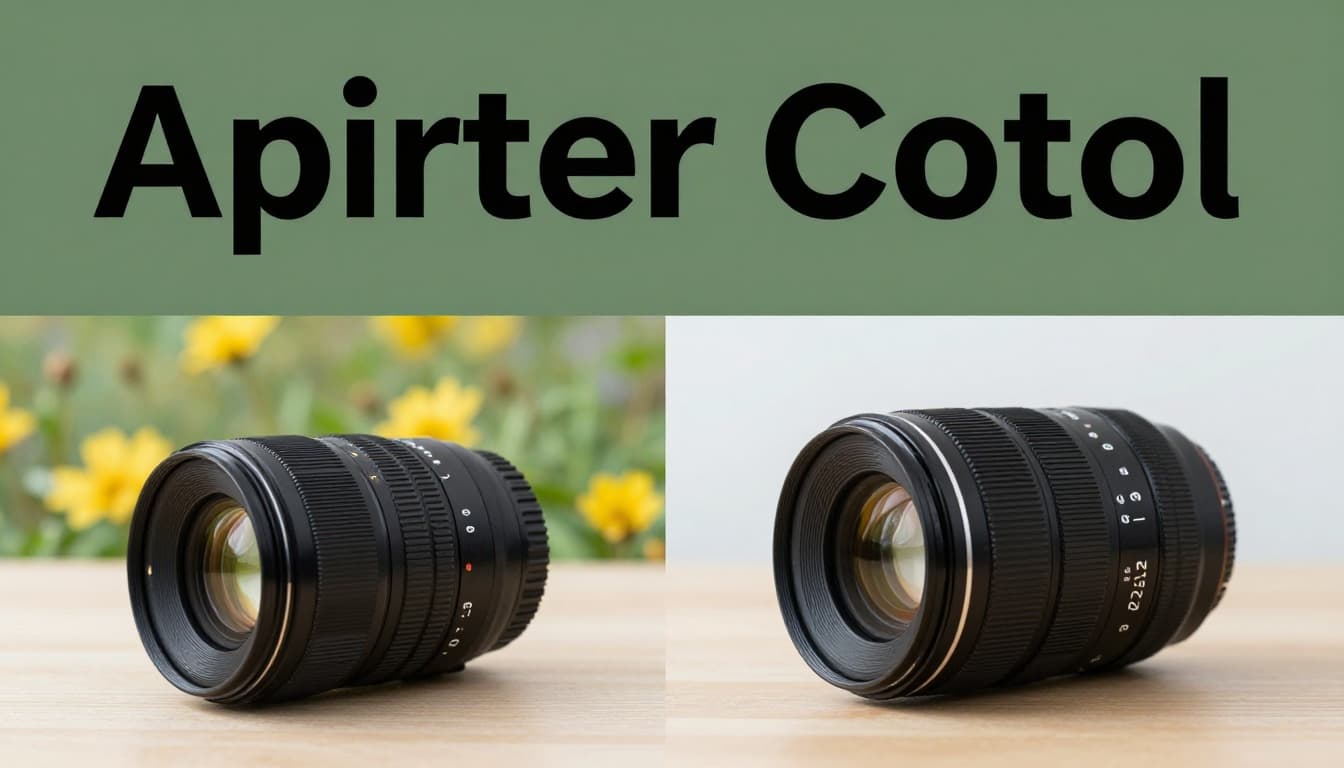
Aperture: Controlling Light and Focus Depth
Aperture acts like your eye’s pupil. It opens wide or narrows to control light entry. Camera makers measure it in f-stops. A low number like f/2.8 means wide open. More light floods in. Backgrounds blur for that creamy bokeh in portraits.
Go higher to f/16. Less light enters. Everything stays sharp from front to back. Perfect for landscapes. Wide apertures brighten shots fast. They create shallow depth of field. Narrow ones darken images but keep depth.
Pros of wide aperture include dreamy portraits. Cons mean less sharpness overall. Narrow apertures suit scenes with detail everywhere. However, they demand steady hands or tripods because light drops.
For a clear breakdown of aperture in the exposure triangle, check Penn State University’s lesson on camera basics.
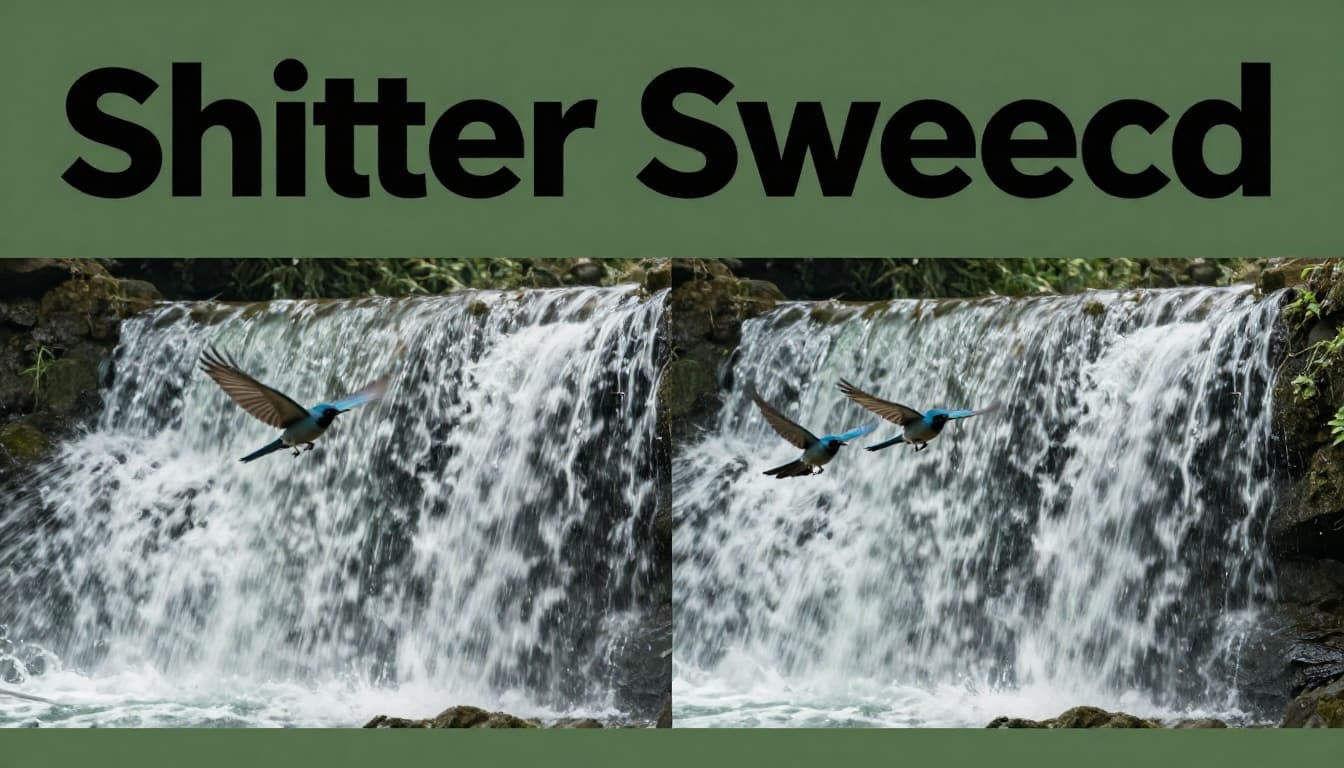
Shutter Speed: Freezing or Blurring Motion
Shutter speed decides how long light hits the sensor. Think of it as an eyelid blink. Fast speeds like 1/1000 second freeze action. Birds in flight look crisp. Sports shots stay sharp.
Slow it to 1/30 second. Motion blurs into silk. Waterfalls gain smooth flow. However, hand shake causes overall blur. Use a tripod then.
The handheld rule helps. Set speed at least 1 over your lens focal length. A 50mm lens needs 1/50 or faster. Fast speeds cut light, so they darken shots. Slow speeds brighten but risk blur.
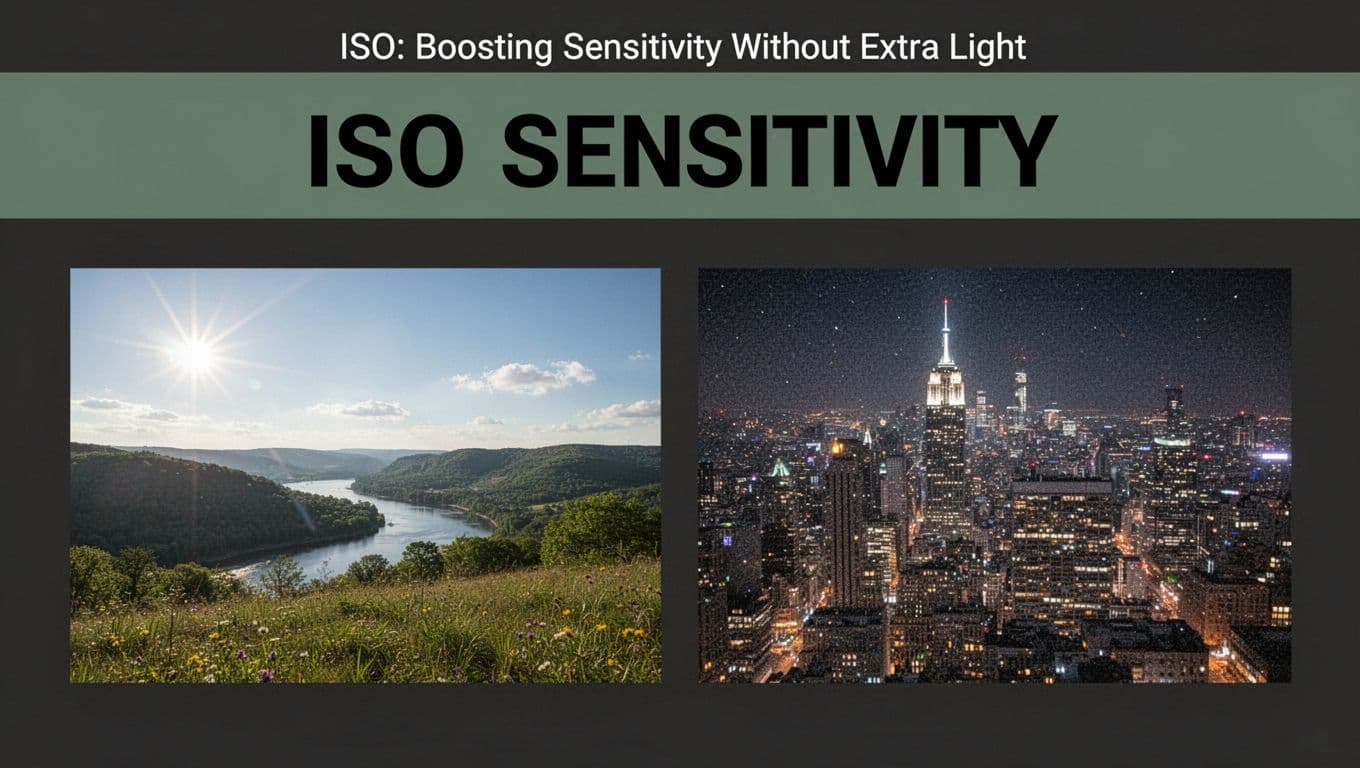
ISO: Boosting Sensitivity Without Extra Light
ISO sets your sensor’s light sensitivity. Low like ISO 100 keeps images clean and noise-free. Use it in bright sun. High like ISO 3200 grabs light in dim rooms. But grain creeps in.
Modern cameras handle high ISO better. Still, stick low when possible. It preserves quality. Raise it for indoors or night. Balance with aperture and shutter.
See Them Work Together: Balancing Settings in the Exposure Triangle
These settings don’t work alone. They form a triangle. Adjust one, compensate others to keep exposure even. A change by one “stop” doubles or halves light.
Start at f/5.6, 1/125 second, ISO 200. Need faster shutter for action? Go to 1/500. Light halves. Open to f/4 or raise ISO to 400.
Mastering Stops: Double or Halve Light Effortlessly
One stop equals double light or half. Aperture: f/2.8 to f/5.6 halves light. Shutter: 1/125 to 1/60 doubles time, more light. ISO: 200 to 400 doubles sensitivity.
| Setting | One Stop More Light | One Stop Less Light |
|---|---|---|
| Aperture | f/4 to f/2.8 | f/4 to f/5.6 |
| Shutter | 1/125 to 1/60 | 1/125 to 1/250 |
| ISO | 200 to 400 | 400 to 200 |
This table shows quick shifts. Always compensate to stay balanced.
Real-Life Examples: From Sunny Days to Night Shoots
Sunny portrait? Use Sunny 16 rule: f/16, shutter at 1/ISO on bright days. ISO 100 means 1/100 second. Learn more at ICO Optics’ Sunny 16 guide.
Indoors at events, bump ISO to 800. Keep f/4, 1/125. Low light streets need tripod, f/8, 1/15, ISO 400. Practice these combos.
Pro Tips and Tools to Achieve Spot-On Exposure Every Time
Histograms beat your eyes. They graph tones. Even spread means good exposure. AI in 2026 cameras auto-adjusts exposure. But manual gives control.
Check Exposure with Histograms and Zebra Stripes
Review shots on LCD. Histogram piles left? Too dark. Right? Blown highlights. Center bunch? Flat midtones.
Zebra stripes flag clipped areas. Set to 100% for warnings. Most cameras show both.
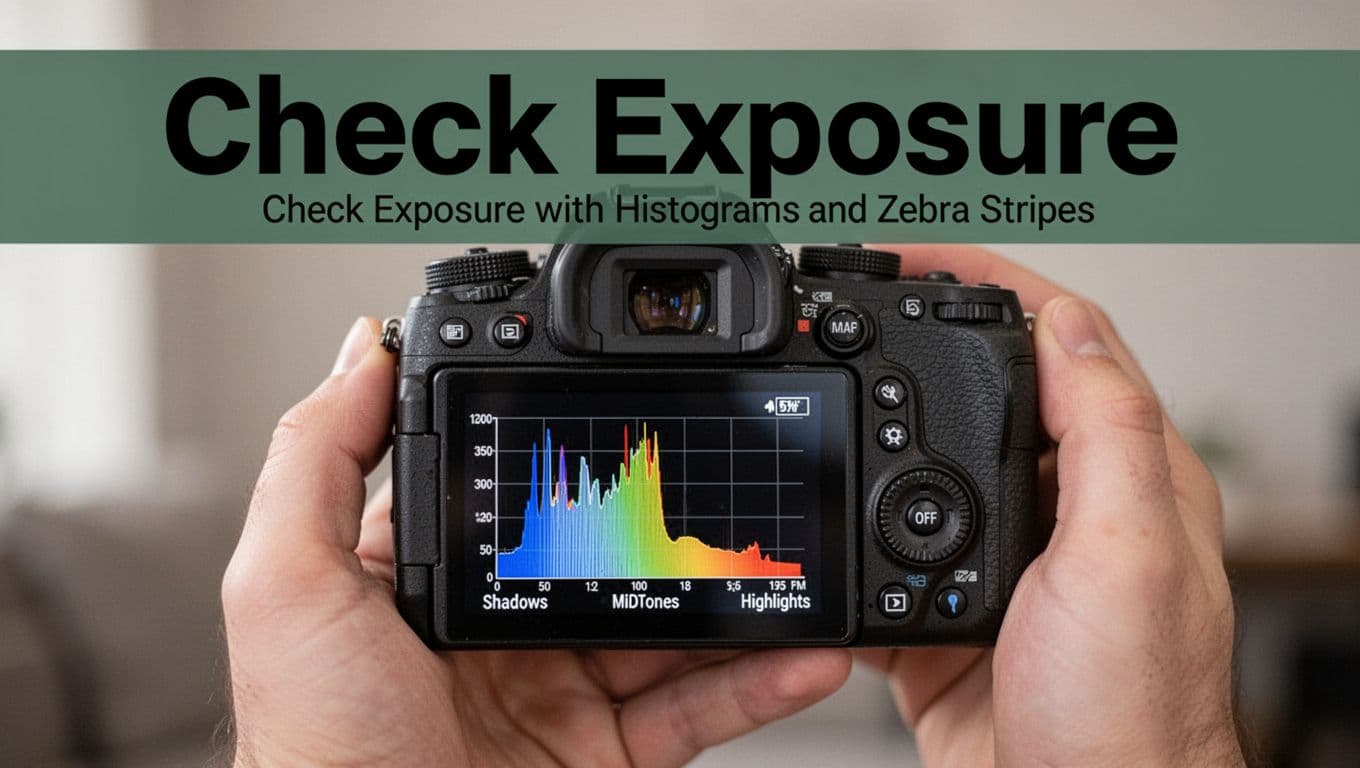
See Digital Photography School’s histogram guide for details.
Prioritize Settings: ISO First, Then Aperture and Shutter
Set ISO low for the scene. Outdoors? 100. Indoors? 400. Then pick aperture for depth. Portraits wide, landscapes narrow. Last, shutter for motion. This order fights noise and blur first.
Shoot RAW. Fixes in post stay flexible.
Steer Clear of These Frequent Exposure Mistakes
Beginners unbalance the triangle. Light shifts unnoticed. Auto modes fool you.
Relying Too Much on Auto ISO Without Limits
Auto ISO spikes high. Noise ruins shots. Cap it at 1600. Monitor always.
Slow Shutters Without Stabilization
Shake blurs everything. Use tripods or faster speeds. Boost ISO if needed. Spot blur in review; reshoot quick.
For more fixes, read Fstoppers on exposure pitfalls.
Master the exposure triangle. Aperture, shutter, and ISO balance light for sharp, detailed photos. Practice manual mode daily. Test outdoors at dawn. Tweak one setting, adjust others.
Share your before-and-after shots in comments. What scene trips you up? Subscribe for tips on AI camera aids. Core rules stay timeless. Shoot confident now.